
How to check and replace your bike chain
Replacing a chain in time costs a fraction of what a worn chain does to your cassette and chainring. Here you will learn how to measure chain wear in ten seconds and how to replace the chain correctly on bikes and e-bikes.
A guide from our workshop · Last reviewed:
Key facts at a glance
- 11- to 13-speed
- replace at 0.5% elongation
- up to 10-speed
- replace at 0.75% elongation
- Measure
- every 500 km – especially on e-bikes
- Time needed
- 20–30 minutes with the right tools
Why a chain “stretches”
A chain does not stretch like a rubber band. In every joint, pin and bushing rub against each other and wear away material. This play adds up over a good hundred links until the chain is measurably longer than when it was new. A worn chain no longer sits cleanly between the teeth – it rides up on their flanks and grinds the cassette and chainring down to its own pitch. From that point on, a new chain will no longer fit the old drivetrain.
Signs you will notice while riding
| What you notice | What it usually means |
|---|---|
| Shifting becomes sluggish or imprecise even though it is adjusted correctly | The chain is starting to wear – measure it now |
| The chain can be pulled noticeably away from the front chainring | Advanced wear |
| Rattling or clicking under load | Chain and often the sprockets are already worn |
| The chain skips over the teeth when you pedal hard | Chain well past 1%, cassette usually worn as well |
Measuring chain wear correctly
With a chain wear gauge
The most reliable tool for home use – one measurement takes ten seconds.
- Wipe the chain. Heavy dirt between the rollers distorts the result.
- Tension the chain. Shift to the large chainring and push the crank gently forwards so that the upper run of the chain is taut.
- Apply the gauge and read it. This depends on the type:
- Dial-type gauge such as the Park Tool CC-2: insert both pins into the chain, press the swing arm lightly and read the value in the window. You can see how far the chain has worn – not just whether it is finished.
- Go/no-go gauge such as the RFR chain gauge: hook one end into a link and lay the gauge on the chain without pressure. If the test tooth drops fully between the rollers, the limit has been reached (see illustration).
- Repeat at three or four points. Chains wear unevenly. The worst reading counts.
With any gauge: press only lightly, otherwise you will measure too much. Standard gauges are not suitable for SRAM AXS 12-speed road chains (Flattop) – Park Tool recommends the CC-4 instead of the CC-2 for these. Shimano recommends its own gauge, the TL-CN42, for Shimano chains and points out that gauges from other brands often show wear too early on Shimano chains. In practice, that means you replace the chain slightly too early rather than too late.
When to replace?
| Drivetrain | Replace at |
|---|---|
| 11-, 12- and 13-speed | 0.5% |
| 6- to 10-speed | 0.75% |
| Any chain at | 1.0% |
The narrow chains and sprockets of modern 11- and 12-speed drivetrains are more sensitive to elongation. At 1%, the cassette is usually already damaged. If your gauge only has 0.75% and 1.0% and you ride 12-speed: replace the chain at the latest when the 0.75% side drops in – or get a gauge with a 0.5% setting.
No gauge to hand? Use a steel ruler
A new chain measures exactly 12.7 mm from pin centre to pin centre. Over 24 links, that is 304.8 mm. Place the zero of a steel ruler exactly on the centre of a pin and read off the value at the 24th link:
| Reading over 24 links | Condition |
|---|---|
| 304.8 mm | new |
| from approx. 306.3 mm | 0.5% – replace on 11/12-speed |
| from approx. 307.1 mm | 0.75% – replace on up to 10-speed |
We are talking about one and a half millimetres over thirty centimetres. It can be read, but it is error-prone – useful as a rough guide, but no substitute for a gauge.
The right gauge
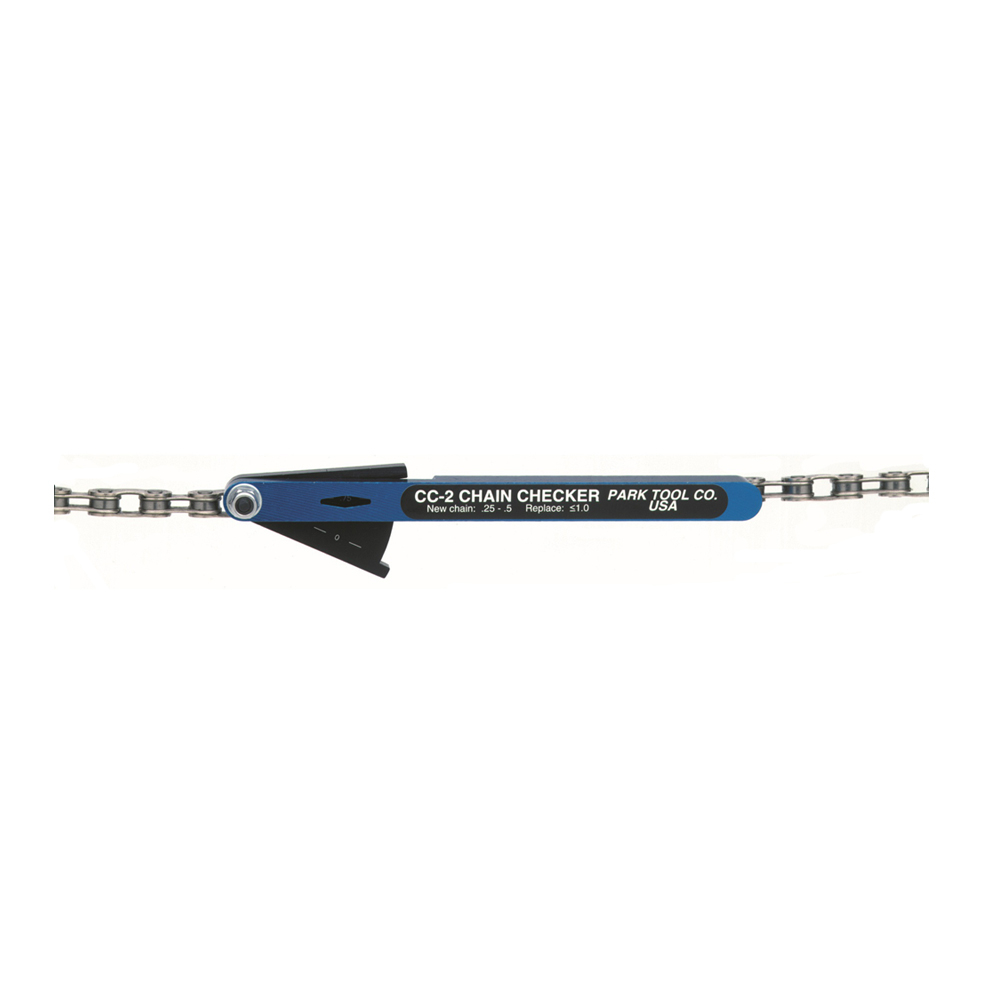
Dial-type gauge
Park Tool Chain Checker CC-2
Shows chain elongation in a window. You can see early on when the next replacement is due and order a chain in good time.
View product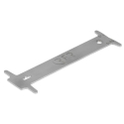
Go/no-go gauge
RFR Chain Gauge
Simple steel gauge: put it on and you can see immediately whether the chain is still fine or needs replacing. The affordable way in.
View productYou can find all tools under Bike tools.
What you need to replace the chain
Parts
- A new chain matching the number of rear sprockets. An 11-speed chain will not run on 12-speed and vice versa.
- Matching the system: Shimano LinkGlide needs a LinkGlide chain, SRAM Transmission a T-Type chain. On e-bikes, use a chain approved by the manufacturer for e-bike use.
- A new quick link for the right number of speeds – or, for Shimano chains without a quick link, the matching connecting pin. Both are included with many new chains.
Tools
- Chain tool suitable for your number of speeds, e.g. the RFR Chain Tool Pro
- Quick-link pliers for opening and closing in a controlled way (for Shimano Quick-Links, the TL-CN10)
- Chain wear gauge, e.g. the Park Tool CC-2 or the RFR chain gauge
- A workstand – you can manage without, but it is much easier with one
- Rag and chain lube
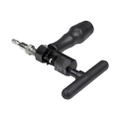
Chain tool
RFR Chain Tool Pro
For opening and shortening the chain and pressing in the connecting pin. Comes with a guide pin and a spare pin.
View productReplacing the chain – step by step
1Shift into the smallest gear
Rear onto the smallest sprocket, front – if you have one – onto the small chainring. This keeps chain tension at a minimum and takes the load off the derailleur.
2Open the old chain
With a quick link: you can recognise the quick link by its different colour or marking. Squeeze the two neighbouring links together with quick-link pliers (for Shimano, the TL-CN10) and the link opens.
Without a quick link – typical for Shimano: the chain was closed with a connecting pin. Open it with the chain tool at any normal link. Do not push out an old connecting pin, and do not reuse the pin you pushed out.
3Cut the new chain to length
If your gears have been shifting cleanly and you are not changing the cassette or chainring, the new chain gets exactly as many links as the old one.
Count links, don't compare lengths. The old chain has stretched. If you simply lay the two chains end to end, the new one will come out one link too long. Lay them side by side link by link, or count the pins of the old chain.
With a new drivetrain, a different gear ratio, or if you are not sure the old length was right: determine the chain length from scratch. Shorten the chain with the chain tool and make sure you end up with the correct end links.
4Thread the chain
Start at the rear derailleur: the chain runs between the two jockey wheels and over the smallest sprocket. The derailleur cage has a small tab or pin that stops the chain from coming off – the chain must pass it on the side facing the derailleur body, not over it. Threaded incorrectly, the chain or the derailleur can be damaged. At the front, route it through the front derailleur or chain guide onto the chainring. On e-MTBs, don't forget the chain guide on the motor.
Mind the direction: many current chains, such as Shimano 11- and 12-speed, are directional. The printed side faces outwards, i.e. towards the right-hand side of the bike. Fitted the wrong way round, the chain shifts worse and wears faster.
5Close the chain
With a quick link: slide the two halves between the inner links from either side. On a Shimano Quick-Link, the arrow – seen from the front – points in the direction the crank turns. Then close it with quick-link pliers until the link audibly clicks into place. Shimano recommends its own TL-CN10 pliers for this.
Emergency fix on the trail: turn the quick link onto the upper run of the chain, pull the rear brake and push down hard on the pedal. This takes practice and requires both plates to be seated perfectly – otherwise the link bends easily.
With a Shimano connecting pin: place the chain exactly in the chain tool – if it sits at an angle, the tool can be damaged. Press the pin in until it is centred and protrudes equally on both sides. Snap off the guide section with pliers.
6Check for stiff links
Turn the crank slowly backwards and watch the chain as it runs through the derailleur. A link that doesn't move freely will visibly jump at the upper jockey wheel. This happens mainly after riveting. Flex the chain gently from side to side at that spot until the link moves freely.
7Run through the gears and test ride
Shift through all gears once, up and down. On the largest sprocket, the derailleur cage may be extended a long way, but must not hit its stop. On the smallest sprocket, the chain must not sag.
Then take a short test ride, pedalling hard in the gears you use most. If the new chain skips on certain sprockets, the cassette is worn – more on that below.
New chains come lubricated from the factory, and this lubricant sits deep inside the joints. Don't wash it off – just ride, and only re-lube once the chain looks dry.
The right chain length
A chain that is too short can rip off the rear derailleur and derailleur hanger in the largest gear. A chain that is too long sags in the small gears, slaps around and comes off more easily.
Replacing the chain on an unchanged drivetrain
Count the links of the old chain and make the new one the same length. In most cases this is the safest method – provided the gears were shifting cleanly before.
New drivetrain or new gear ratio
Shimano: place the chain over the largest chainring and the largest sprocket without routing it through the rear derailleur, and join the ends taut behind the sprocket. Shimano calls the point where the ends overlap the zero position. Links are added from there – how many is shown in the table below.
SRAM Eagle Transmission: the length is determined from chainring size and chainstay length, using the chart in the SRAM manual or the SRAM AXS app.
Shimano: links added to the zero position
| with connecting pin | with Quick-Link | |
|---|---|---|
| Hardtail | + 5 or 6 | + 4 or 5 |
| Full suspension | + 6 or 7 | + 5 or 6 |
Which of the two values applies depends on whether two matching or two different links meet at the zero position. In practice, it is always the value at which the chain ends with the correct end links: two inner links for a Quick-Link, one inner and one outer link for a connecting pin (see below). Shimano explains the details in its guide to chain length.
Which end links the chain needs
| Connector | Chain ends |
|---|---|
| Quick link (SRAM, KMC, Shimano Quick-Link) | An inner link (narrow link) at both ends. The quick link replaces the missing outer link. |
| Shimano connecting pin | An inner link at one end, an outer link at the other. |
Quick links: reusable or not?
Most quick links for 11- and 12-speed lock with a press fit that loosens when opened. An opened single-use link therefore belongs in the bin, not back on the chain.
| Quick link | Reusable? |
|---|---|
| Shimano Quick-Link (11- and 12-speed) | No – single use according to the manufacturer |
| SRAM PowerLock (10- to 12-speed) | No – single use according to the manufacturer |
| SRAM PowerLink (6- to 9-speed) | Yes |
| KMC MissingLink | It's in the name: R = reusable, NR = single use |
| Connex Link | Yes – hooked in rather than press-fitted, designed for frequent opening |
The quick link must match the number of speeds. An 11-speed link on a 12-speed chain will not hold reliably.
What's different on an e-bike
On e-bikes with a mid-drive motor, the motor's power goes through the chain. Every link is exposed to considerably higher forces than on a non-motorised bike. In practice, an e-bike chain wears roughly two to three times as fast.
Measure more often
Check with the gauge every 500 km – sooner on e-MTBs ridden a lot in Turbo mode. Blanket mileage figures are practically worthless on e-bikes: the range runs from a few hundred to several thousand kilometres.
Use an e-bike chain
Chains approved for e-bikes have reinforced pins and plates. Examples are Shimano's LinkGlide chains or KMC's e-series.
Don't shift under load
The biggest cause of wear on e-bikes. Ease off the pedals briefly before shifting – it noticeably protects chain and sprockets.
No pressure washer
The water jet forces grease out of the chain joints and out of the bearings in the derailleur and motor. Use a rag, brush and chain cleaner instead.
This guide applies to derailleur drivetrains. Bikes with hub gears often tension the chain via an eccentric bottom bracket or sliding dropouts, and bikes with belt drive have no chain at all – our workshop is happy to help with these.
Does the cassette need replacing too?
If you replace the chain in time, usually not. With regular measuring, a cassette will typically last two to three chains.
If you have ridden the chain past 1%, the cassette has most likely worn in. You will notice at the latest after replacing the chain: the new chain skips under load on the sprockets you use most. Then the only fix is a new cassette – and on e-bikes, often a new chainring as well.
How to spot a worn chainring
The teeth no longer look symmetrical but are pulled into a shark-fin or hooked shape. The chain does not release cleanly from the bottom of the ring, or gets carried along a little. On the chainring of an e-bike motor, it's worth taking a look every time you replace the chain.
Making your new chain last longer
- Wipe, don't hose. Run the chain through a dry rag while turning the crank backwards.
- Lube sparingly. One drop per link on the inside, let it soak in for a few minutes, then wipe off the excess thoroughly. Oil on the outside of the chain only attracts dirt.
- After riding in the rain, dry the chain and re-lube it.
- Avoid cross-chaining. Big–big and small–small make the chain run at an angle and increase wear.
Frequently asked questions
Prefer to leave it to a pro?
Our workshops in Lienz and Krems measure wear, replace chain, cassette and chainring, and readjust your gears. Call us on +43 4852 68866-0 or email info@fitstore24.com.